
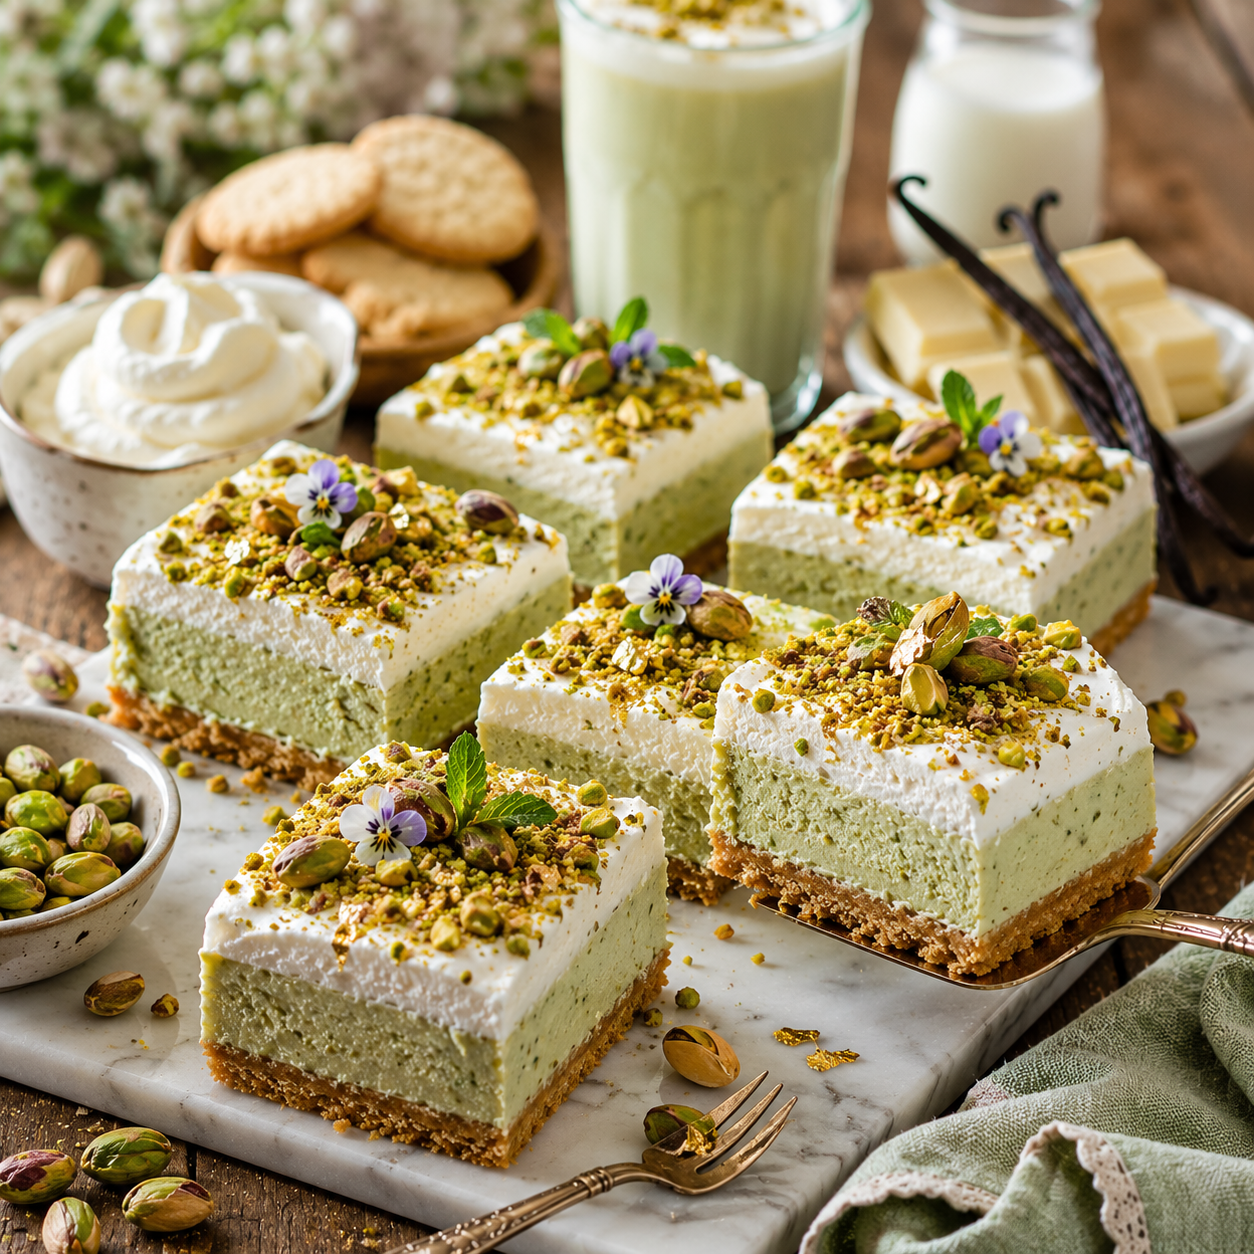
Pistachio Dream Bars: A No Bake Layered Treat You’ll Crave All Season
There’s something deeply satisfying about slicing into a cool, creamy dessert on a warm afternoon, knowing you never had to turn on the oven to make it happen. If you’ve been searching for pistachio dream bars that come together easily, chill into perfect layers, and taste like a nostalgic treat with a modern twist, this guide walks you through the entire process from crust to topping.
By the end, you’ll have a complete, foolproof recipe ready for your next gathering — or just a quiet afternoon craving something sweet.
Why Pistachio Dream Bars Are Worth Making
Pistachio dream bars hit that perfect sweet spot between effortless and impressive. There’s no oven involved, no complicated technique, and no risk of overbaking — just layers of buttery crust, creamy pistachio filling, and fluffy whipped topping that set up beautifully in the fridge while you do something else entirely.
They’re also wonderfully nostalgic, echoing the retro pistachio desserts many people grew up with, while still feeling fresh and crowd-pleasing enough to bring to a modern potluck or holiday table.
What You’ll Need – Ingredients & Tools
| Ingredient | Amount | Notes |
|---|---|---|
| Graham cracker crumbs | 1.5 cups | Base for the crust |
| Butter, melted | 1/2 cup | Binds the crust together |
| Cream cheese, softened | 8 oz | For the pudding layer |
| Pistachio pudding mix | 2 boxes (3.4 oz each) | Instant, not cook-and-serve |
| Milk | 2 cups | Cold, for the pudding layer |
| Whipped topping | 3 cups, divided | Half for pudding layer, half for topping |
| Chopped pistachios | 1/2 cup | For garnish on top |
| Tool | Recommended Choice | Notes |
|---|---|---|
| 9×13 baking dish | Glass or metal | For pressing the crust and layering |
| Electric mixer | Hand or stand mixer | For smooth pudding and cream cheese mixing |
| Mixing bowls | 2–3 medium bowls | For separate layer components |
Instant pistachio pudding mix is essential here rather than cook-and-serve, since it thickens on its own once whisked with cold milk.
How to Make Pistachio Dream Bars – Step-by-Step
Making the Crust
- Combine graham cracker crumbs and melted butter in a bowl until evenly moistened.
- Press the mixture firmly and evenly into the bottom of a 9×13 dish.
- Chill the crust in the refrigerator for 15–20 minutes while you prepare the next layer.
Preparing the Pistachio Pudding Layer
- Beat the softened cream cheese until smooth and lump-free.
- Whisk in the cold milk and both boxes of pistachio pudding mix until thickened, about 2 minutes.
- Fold in half of the whipped topping until fully combined.
Adding the Whipped Topping Layer
- Spread the pistachio pudding mixture evenly over the chilled crust.
- Top with the remaining whipped topping, spreading it smoothly to the edges.
- Sprinkle chopped pistachios evenly over the top layer.
Chilling and Slicing
- Cover the dish and refrigerate for at least 4 hours, or overnight for the cleanest slices.
- Slice into squares with a sharp knife, wiping the blade clean between cuts.
Tips for the Best Pistachio Dream Bars
- Don’t rush the chilling time — the layers need several hours to set firmly enough for clean slices.
- Bring cream cheese to true room temperature before mixing to avoid lumps in the pudding layer.
- Use a sharp knife and wipe it between each cut for neat, bakery-style squares.
- Store the finished bars covered in the refrigerator to keep the whipped topping fresh.
Customization Ideas
| Add-In or Topping | Notes |
|---|---|
| Mini chocolate chips | Sprinkle into the pudding layer or on top |
| Shredded coconut | Adds texture to the topping layer |
| Fresh berries | A bright contrast served alongside |
| Crushed pistachios | Extra crunch mixed into the crust |
For dietary adjustments, use dairy-free cream cheese and whipped topping alternatives, or swap in gluten-free graham crackers for the crust.
Common Mistakes to Avoid When Making Pistachio Dream Bars
- Not chilling the bars long enough, resulting in layers that slide apart when sliced.
- Pressing the crust too thin, which makes it crumble instead of holding together as a base.
- Overmixing the pudding layer once the whipped topping is folded in, which can deflate its light texture.
- Slicing before the bars are fully set, leading to messy, uneven squares.
Creative Ways to Serve Pistachio Dream Bars
- As a centerpiece dessert on a holiday table
- Cut into small squares for a potluck contribution
- Layered into individual cups for easy party serving
- Paired with fresh berries on the side for extra color and flavor
FAQ – Pistachio Dream Bars
How long do pistachio dream bars need to chill? At least 4 hours, though chilling overnight gives the cleanest, most stable slices.
Can pistachio dream bars be made ahead of time? Yes — they’re an ideal make-ahead dessert and can be prepared up to 2 days in advance, covered and refrigerated.
Can I freeze pistachio dream bars? Yes, they can be frozen for up to a month; thaw in the refrigerator before serving for the best texture.
What can I use instead of pistachio pudding mix? Vanilla pudding mix with a small amount of green food coloring and finely chopped pistachios can work as a substitute, though the flavor will be milder.
How long do pistachio dream bars last in the fridge? Properly covered, pistachio dream bars stay fresh in the refrigerator for 3–4 days.
Conclusion
There’s a reason pistachio dream bars keep showing up on dessert tables year after year — they’re easy to make, impossible to mess up with a little patience, and disappear fast at any gathering. With just a handful of ingredients and some chilling time, you’ll have a treat that tastes like far more effort than it actually took.
Now it’s your turn: gather your ingredients, press that crust, and let the fridge do the rest. Once your bars are set, save this recipe for your next occasion, and share how your pistachio dream bars turned out.