Physical Address
304 North Cardinal St.
Dorchester Center, MA 02124
Physical Address
304 North Cardinal St.
Dorchester Center, MA 02124
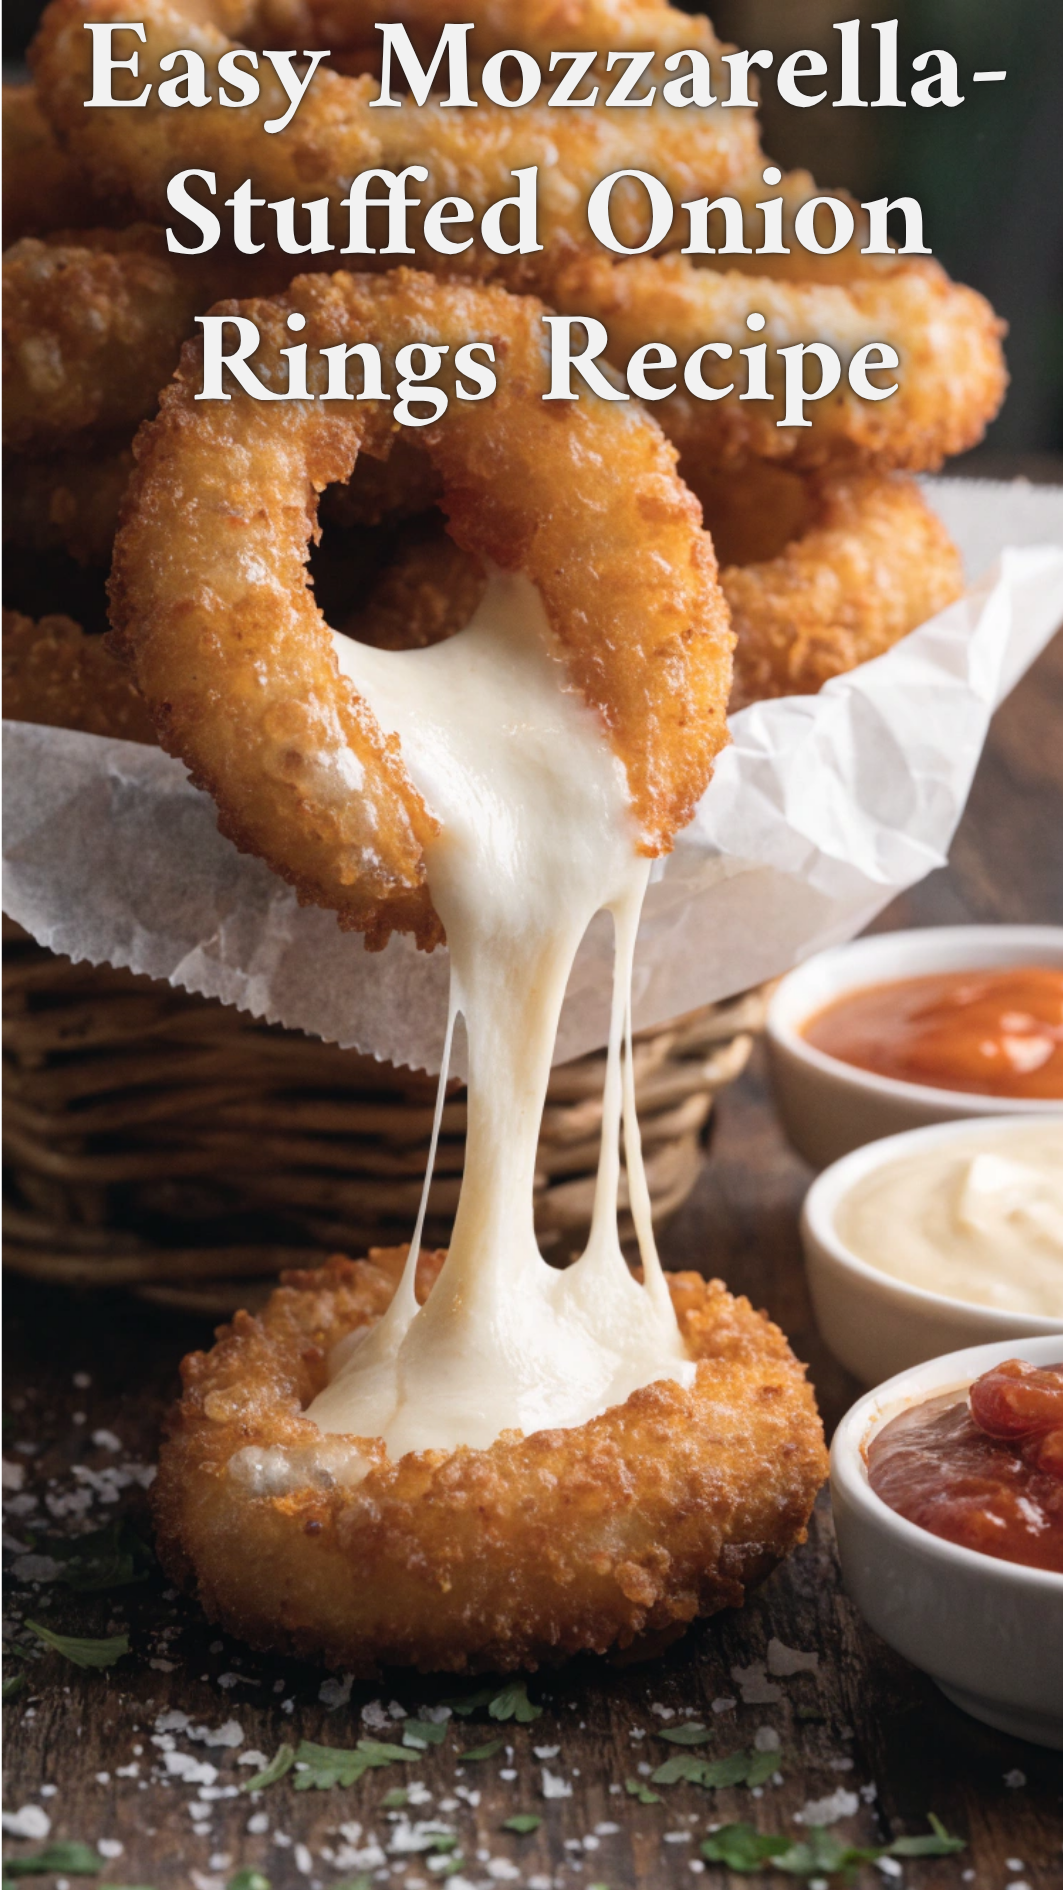
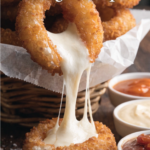
Crispy, golden, and irresistibly gooey! 🧅🧀 These Easy Mozzarella-Stuffed Onion Rings are the ultimate comfort food snack, perfect for game days, parties, or cheesy cravings. Save this simple recipe for later! #OnionRings #CheeseLovers #EasySnacks #ComfortFood
If you’ve ever found yourself standing in the kitchen wanting something crispy, cheesy, and a little over-the-top in the best way possible, this is exactly where your search ends. The Easy Mozzarella-Stuffed Onion Rings Recipe takes two familiar favorites—onion rings and mozzarella sticks—and fuses them into one addictive snack. What you get is a golden, crunchy shell that breaks open into a stretchy, molten cheese center with just enough onion sweetness to balance everything out.
It’s the kind of recipe you don’t just make for guests—you make it because you want something satisfying without overthinking it.
There’s a reason this snack shows up on party tables and viral food videos. It hits multiple textures at once.
When you make this Easy Mozzarella-Stuffed Onion Rings Recipe, you’re combining:
That contrast is what keeps you reaching for another one even when you tell yourself you won’t.
Unlike standard onion rings, this version feels more filling and more indulgent. It’s closer to comfort food territory than a simple appetizer.
Before you start cooking, organizing your ingredients will make everything smoother. You’re basically building layers: onion, cheese, coating, and crunch.
| Ingredient | Quantity | Role in Recipe |
|---|---|---|
| Large onions | 2 | Structure for rings |
| Mozzarella sticks | 8 | Melty cheese center |
| All-purpose flour | 1 cup | First coating layer |
| Eggs | 2 | Binding agent |
| Milk | ½ cup | Smooth egg wash |
| Panko breadcrumbs | 2 cups | Crispy outer shell |
| Garlic powder | 1 tsp | Flavor boost |
| Paprika | 1 tsp | Color + mild spice |
| Salt | 1 tsp | Seasoning balance |
| Black pepper | ½ tsp | Flavor depth |
| Oil (for frying) | as needed | Crisping method |
These small additions let you adjust the flavor without changing the base recipe.
This isn’t just another fried snack—it solves a few common cooking frustrations.
You don’t need advanced cooking skills. The steps are simple enough that you can prepare them even when you’re short on time.
Most ingredients are inexpensive pantry staples, yet the final result feels like something from a restaurant appetizer menu.
You can serve these for:
They disappear quickly, so making a double batch usually makes sense.
This process is more about assembly than complexity. Once you understand the structure, everything becomes straightforward.
Slice your onions into thick rings. Carefully separate them so you have matching sizes. You’ll be layering smaller rings inside larger ones to create space for the cheese.
The goal is stability—too thin and they won’t hold the filling.
Take mozzarella sticks and place them between the onion layers.
You’re essentially building a “cheese core” inside each ring.
For better results:
This step prevents melting cheese from leaking during frying.
Set up three bowls:
This layered coating is what gives you that restaurant-style crunch.
Now you build texture step by step:
For extra crunch, you can repeat the egg and breadcrumb layer again.
Heat oil to about 350°F (175°C).
Carefully fry each ring until:
Drain on paper towels to remove excess oil.
If you prefer less oil, the air fryer works surprisingly well.
The texture is slightly lighter, but still satisfying with a good crunch.
Small adjustments can change your results dramatically.
This step helps the cheese stay inside during frying and keeps the structure firm.
Regular breadcrumbs don’t deliver the same crunch. Panko gives a lighter, crispier coating.
If the oil is too hot, the outside burns before the inside melts properly. If it’s too cool, the rings absorb oil and turn greasy.
Too much cheese makes sealing difficult and increases the chance of leaks.
Once you master the base recipe, you can experiment freely.
Add sliced jalapeños inside and use pepper jack cheese for heat.
Mix crispy bacon bits with mozzarella for smoky flavor.
Add garlic butter and Italian herbs to the breadcrumb mix for deeper aroma.
Swap part of mozzarella with cheddar for a sharper flavor profile.
A good dip takes this snack to another level.
Try pairing with:
Each one brings a different balance—creamy, tangy, or smoky.
If you have leftovers (which is rare), you can still enjoy them later.
Store in an airtight container for up to 2–3 days.
For best texture:
Even simple recipes can go wrong if you miss key steps.
Avoiding these ensures consistent results every time.
Per serving:
This is a treat snack, best enjoyed in moderation alongside lighter meals.
Yes, baking works, but air frying gives a crispier and more satisfying texture.
Yes, you can prepare and freeze them before cooking for convenience.
Sweet onions or yellow onions are ideal because they balance flavor and texture.
Freezing before cooking and sealing tightly are the most important steps.
Yes, cheddar, pepper jack, or blended cheeses all work well depending on your taste.
The Easy Mozzarella-Stuffed Onion Rings Recipe is more than just a snack—it’s a combination of textures and flavors that feels satisfying every single time. Crispy outside, gooey inside, and endlessly customizable, it’s the kind of recipe you’ll return to whenever you want something comforting and fun.
Now it’s your turn. Try it once, adjust it to your taste, and make it your own. And if it becomes a favorite in your kitchen, share it with someone who appreciates cheesy, crispy snacks as much as you do—you’ll probably end up making it together next time.